First, open Outlook and look for the “People” or “Contacts” icon at the bottom of the navigation pane. It’s usually a little silhouette of two people—very friendly, very promising. Click it, and you’ve just stepped into the control room.
Once you’re in Contacts, look up at the ribbon (that toolbar at the top) and find the button that says “New Contact Group.” Breathe easy—this is the heart of the operation. Give your group a fun name, like “The Brunch Bunch” or “Project Avengers,” and hit enter.
Step Two: The Magic of Adding People
Now you’re staring at an empty list, which is like a blank canvas for your social genius. Click “Add Members” and choose “From Outlook Contacts” if you already know these lovely humans. If not, you can type their email addresses right there—Outlook is surprisingly forgiving.
Here’s a pro tip: don’t be shy about dragging and dropping emails from your inbox directly into the group. Yes, really. It feels a bit like a digital magic trick, and you’ll feel like a wizard. Abracadabra, everyone’s on the list!
Once your group is full, hit “Save & Close.” That’s it. You’ve just created a little family of contacts that will serve you forever. Go ahead, give yourself a mini high-five—you’ve earned it.
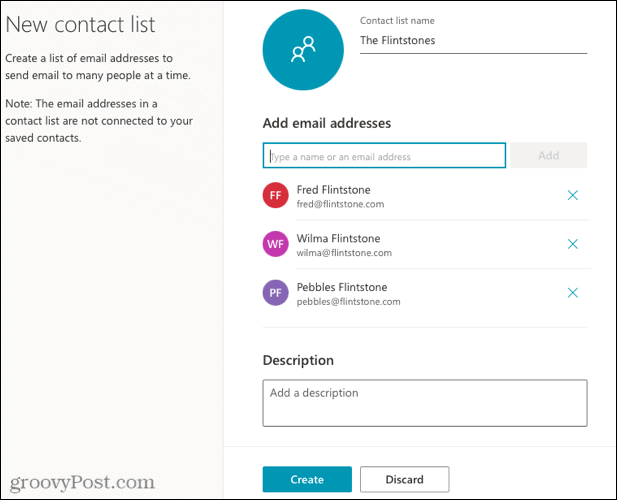 How to Create a Contact Group or Distribution List in Outlook